Showing posts with label 1940s makeup. Show all posts

Sunday, July 22, 2012

Portrait of a Starlet


A couple of weeks ago I styled a model for a Hollywood glamour and pinup shoot with Doug Monce.  Tess had lovely, thick brown locks and gorgeous eyes--her looks really suit the 1940s--and she was a delight to work with!

For makeup, I used a mix of Ben Nye, MAC, and Yaby.  On her eyes, I applied Ben Nye Santa Fe on the lid, Mink Stole in the crease, and Vanilla to highlight.  A light dusting of Yaby Glazed Rose added a bit of shine and depth to the look.  Her brows were filled in slightly with MAC Coquette, applied with an angle brush, and before applying false lashes (Ardell 102s), I applied a thin line of black gel liner (Inglot 90).  On her cheeks I used Ben Nye Raspberry powder rouge, and I used MAC Red on her lips (which were lined with NYX Red.)

I helped with some of the wardrobe as well--for her first look, she wore a black satin nightgown trimmed with aqua bows, paired with a marabou stole and rhinestone jewelry.  For her second look, she wore a 1980s-does 40s cocktail dress paired with a mink stole and more rhinestones.  For her pinup looks, she wore a yellow 1940s-50s bathing suit and a red cherry tie top (made by Vee Vin Tage) paired with black sailor shorts made by Bettie Page Clothing; both outfits were worn with cherry jewelry from my collection.

I loved the way the shoot turned out--Tess looks like she was plucked straight from the pages of an old movie mag!

xoxo,
Amanda Lee


Wednesday, May 9, 2012

Makeup Tips and Tricks--Manicures


Since I’ve been asked by a few of you what nail polish I use, today’s post is all about nails—an episode of Makeup Mondays on a Wednesday!

I’ll preface this post by saying that I don’t have great nails to begin with—I’ve struggled with peeling for a few years (and I don’t tolerate a lot of polish brands), which has always made it a struggle to keep polish on for more than a day or so.  Last year I heard about a new type of product, a hybrid gel polish that promised two weeks of chip free-wear.  Intrigued by these claims, I went in for my first manicure—and was thrilled with the result (over two weeks of perfect wear—wow!)  I started getting regular Shellac and Gelish manicures, but after awhile, I decided that the expense was too much.  Right around that time I noticed that Sally Beauty was now selling both the nail colors and the UV lamp required to cure this type of product, so I decided to splurge and picked up a starter kit.  I found it fairly simple to apply at home, but I ran into issues when it came time to remove the product.  I’m rather impatient, and in my haste to speed up the removal process I ended up damaging my nails scraping and peeling off the color.  After about two months, I was left with very thin, weak, and sensitive nails, and I knew I needed to give them a rest.


So it was back to regular polish again—but luckily, even though I’d weakened my nails, the Gelish seemed to have almost completely resolved the peeling issues.  So, for those of you who have the same issue I did, you might try getting Gelish/Shellac manicures to see if that helps the peelies grow out!

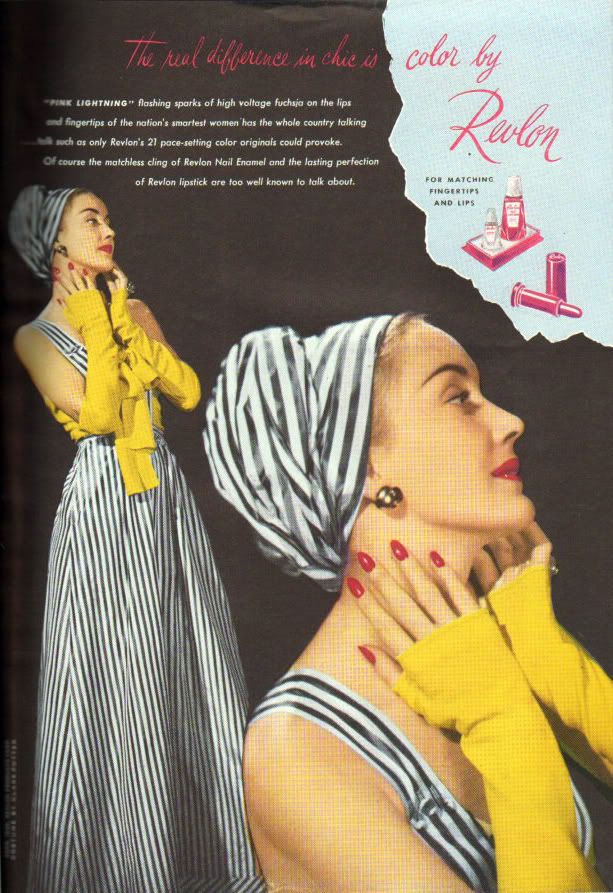
My current fave products are made by Revlon—the “Post Trauma Nail Treatment” is an amazing base coat, and it has definitely helped strengthen my nails and eliminate the remaining peeling.  After removing the old polish and pushing back my cuticles (I use Blue Cross cuticle remover for this step), I start with a single coat, allow it to dry for a couple of minutes, and then apply two thin coats of color (Revlon Red, Love That Red, Fire and Ice, and Cherries in the Snow are my go-to shades—in the hair styling videos, I’m wearing Fire and Ice.)  Then, I apply a thin coat of Revlon’s “Extra Life No Chip” top coat.  I find that although this delivers on the promise of no chips, it takes a little too long to dry (did I mention that I can be impatient?)  So, I top this off with a layer of Seche Vite, which provides a glassy finish and dries in just a few minutes.  With this combination, I get a good two weeks of wear with minimal chipping or peeling.  And when it’s time to redo my manicure, it takes only a minute to remove the polish and start over—no more endless soaking and scraping!

Anyway, those are the secrets to my vintage manicure—I hope you find them helpful!
xoxo,
Amanda Lee

Monday, September 19, 2011

Makeup Mondays--Creating Glamour with Pan-Cake Makeup

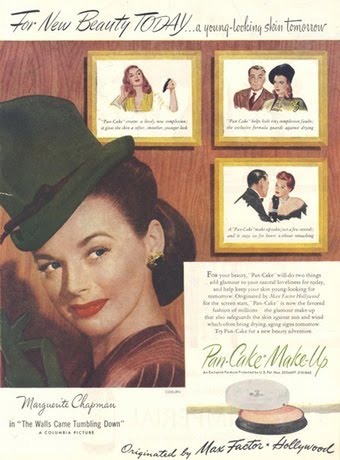
I think it’s fair time for another review here on Makeup Mondays, so today I’d like to talk about a very retro makeup—the cake foundation. We’ve all heard of Max Factor’s Pan-Cake Makeup, the very first of its kind and the first foundation to crossover from the film market into the real world.


It was created in 1937 as an answer to the problem the previously used makeups presented when color film came into play—though fine for black and white film, they were garish and harsh in Technicolor. In fact, these products took on whatever color the actor was wearing—green, red, blue—as the makeup reflected whatever was near it. Max Factor’s glorious invention, a dry cake applied with a moistened sponge—looked wonderful natural and realistic, both on screen and off, and was an instant hit. And so, despite a name that conjures up images of thickly applied, garish makeup (the name merely described the form the product came in—a cake in a pan), we had a foundation that provided a lovely, natural coverage, and was comfortable to wear to boot!
Sadly, Max Factor is no longer sold in the US; I had never really used their foundations, as I couldn’t find a color match, but several years ago I did test drive it for a short stint and found it to be a lovely product. Luckily, water-activated cake makeup is still made by a number of “pro” brands, including Ben Nye and Kryolan. Being that these products are designed for use by professionals, the color ranges for both are quite immense—truly, there will be a match for everyone in either line!

I use the first product, Ben Nye Color Cake, in the shade Bisque. Though appearing quite dark and yellow in the pan, when applied it is actually a soft cream shade (a cool, pink-based alternate shade would be Geisha). It provides wonderful coverage, is very long wearing, and dries to a smooth, matte finish—a very vintage look, in fact. I also find it to be a very comfortable product to wear, especially with oilier skin and on hot days—this is one product that doesn’t feel heavy and greasy (a horrid feeling, especially when you know your makeup is sliding off your face as you walk from your car to the office in the hot summer sun.) The color chart is reasonably straightforward as well—the skintone shades are arranged from lightest to darkest—though it is best if you can test this product out in person. Just remember that the shade will appear quite a bit darker in the pan than it will on your skin, so don’t go too light!


The second product in my kit is Kryolan’s Cake Make-up, a nearly identical product to Ben Nye’s. I find Kryolan’s offering to be a bit creamier and moister feeling on the skin (though again, it dries to a soft matte finish), and it also is fragranced with a very vintage, powdery scent. Though I find the fragrance to be very mild, more sensitive noses may not like it. Kryolan’s color chart leaves much to be desired as well; the numbered shades are not neatly ordered from light to dark, and it’s quite confusing to order this one online. My original choice was TV White—a perfect match for me in the TV Paintstick, but in the cake makeup the shade is exactly as the name describes: a bright, faintly pink-tinged white--not at all a natural skin tone! I then ordered the shade Natural 1, figuring it would be a yellow-toned soft beige. My guess was right on the money, though unfortunately it’s about a shade too dark for me. At any rate, it is possible to mix the shades to adjust the color (though of course, the process isn’t as convenient as it would be to mix to liquid products. Ah well, sometimes a little extra effort is worth it!)


Now, on to application: one applies cake makeup with a dampened sponge (a hydra sponge or sea sponge work well, though a foam foundation wedge or disk will do the trick too.) Simply moisten the sponge, squeeze out the excess liquid, and then swirl it in pan. Then, apply it to your face using a light stippling motion, following by buffing in the foundation with a dry sponge. This gives the skin a lovely airbrushed quality; you can also finish with a very light dusting of loose powder to further set the makeup.

Well, there you have it—a very thorough review on cake makeup! Both the Ben Nye and Kryolan makeups are under $10, and a pan will last approximately forever, so both are an excellent investment if you can find a color match and master application!

xoxo,
Amanda Lee

Wednesday, July 13, 2011

Summer Fashions in Shocking Pink


Arthelia's Attic recently created another custom snood for me, this one done up in a delightfully bright shade of pink perfect for summer! This low, open style gathers your hair off your neck while leaving the crown of your head bare; grosgrain ribbon ties hold the netting in place (a couple of bobby pins keep it nice and secure.) I can't recommend Naomi's designs enough, she does a wonderful job and is always willing to customize her designs to suit your wishes!

Doug Monce and I braved the sweltering Arizona weather to shoot a few photos at a local park. I swear it felt like 1000 degrees that day, but luckily, I look as cool as a cucumber in the photos!

xoxo,
Amanda Lee


Thursday, June 30, 2011

Looking for Her Tarzan


Part two of my recent shoot with Atomic Age Pictures was a jungle themed look--we call this set "The Jungle Princess". (I feel like a lot of our titles have the word 'princess' in them, I suppose that since I wasn't a terribly girly child I am making up for lost time *giggle*)

My leopard outfit was inspired by a photo of Dolores Moran and made by the amazing Vee Vin Tage. Chris always does an incredible job with her creations--show her a picture and she can recreate an outfit perfectly. I am always thrilled with the finished results and can not recommend Vee Vin Tage enough!

xoxo,
Amanda

P.S. I'm wearing a new red lippie that I will be reviewing this week (along with several other new beauty products), so stay tuned!